XDA Basics: How to Transfer Files between iPhone/iPad and Windows PC
Transferring files between an iPhone and a Windows PC has never been as seamless as transferring files between an Android phone and a Windows PC. Thankfully, several new methods have popped up over the years, making the file transfer process relatively easy. But it’s still quite restrictive. This article will discuss some of the best ways you can transfer files between an iPhone/ iPad and a Windows PC.
Navigate this guide:
- How to transfer files between iOS and Windows using:
Transfer Files using iTunes

While not everyone is a fan of using iTunes to transfer files between an iPhone and a PC, this is one of the official methods. Since you will use the iTunes app to transfer files, you need to install it from the Microsoft Store if it’s not already present on your PC.
- Connect your iPhone or iPad to your PC using a USB cable.
![]()
- Open the iTunes app and click on the iPhone button near the top-left of the iTunes window.

- Now, click on the File Sharing option in the left sidebar, and iTunes will show a list of apps and the associated files.

- Tap on a file that you want on your computer and hit Save. It’ll ask for a location to save it on your PC — select the location, and you’re done.

- If you want to transfer a file from your PC to your iPhone, select the app you want to associate it with and click on Add File. This will open the file browser — select the file, and it’ll appear on your iPhone.
Unfortunately, you can only transfer files that are associated with an app to your PC. The same goes for files that you want to move to your iPhone. You’ll have to associate them with an app. So make sure the apps that you’ll use to work on those files are present on your iPhone.

If you want to transfer photos from your PC to your iPhone, navigate to Photos in the left sidebar on iTunes. Now you’ll see an option called Sync Photos. Enable it and select the folder or folders from which you want to import photos to your iPhone. Once selected, click on Apply at the bottom.
This only works when you don’t have the iCloud Photos option enabled on your iPhone. If you’re automatically uploading your iPhone photos to iCloud, Apple suggests using iCloud to download photos to your PC instead.
To transfer photos from your iPhone to your PC when you don’t have the iCloud Photos option enabled, you’ll have to use the Photos app or File Explorer on Windows.
Transferring Photos from iPhone to PC using File Explorer on Windows

- Open File Explorer on your Windows PC.
- Make sure you have set up iTunes on your PC.
- Select your iPhone from the devices list and navigate to Internal Storage > DCIM.
- You’ll see your iPhone photos divided neatly into different date-based folders.
- You can now copy the photo(s) you want to your PC.
Transfer Files Using iCloud

Using iCloud is one of the easier and official ways to transfer files between an iPhone and almost any other platform, including Windows. Basically, you upload your files to iCloud and then download them on the other device. However, on a free iCloud plan, you only get 5GB of storage. So if you want to use iCloud to transfer bigger files, you’ll need a paid plan.
Also, if you’re on a metered data plan, using iCloud to transfer bigger files is not a good idea as it may eat through your data quota quickly. Other cloud storage services, like Google Drive, Dropbox, and OneDrive, can also be similarly used to transfer files between iOS devices and PCs.
Transfer Files from an iPhone to a PC using iCloud



- Open the Files app on your iPhone.
- Navigate to the files that you want to transfer to your PC.
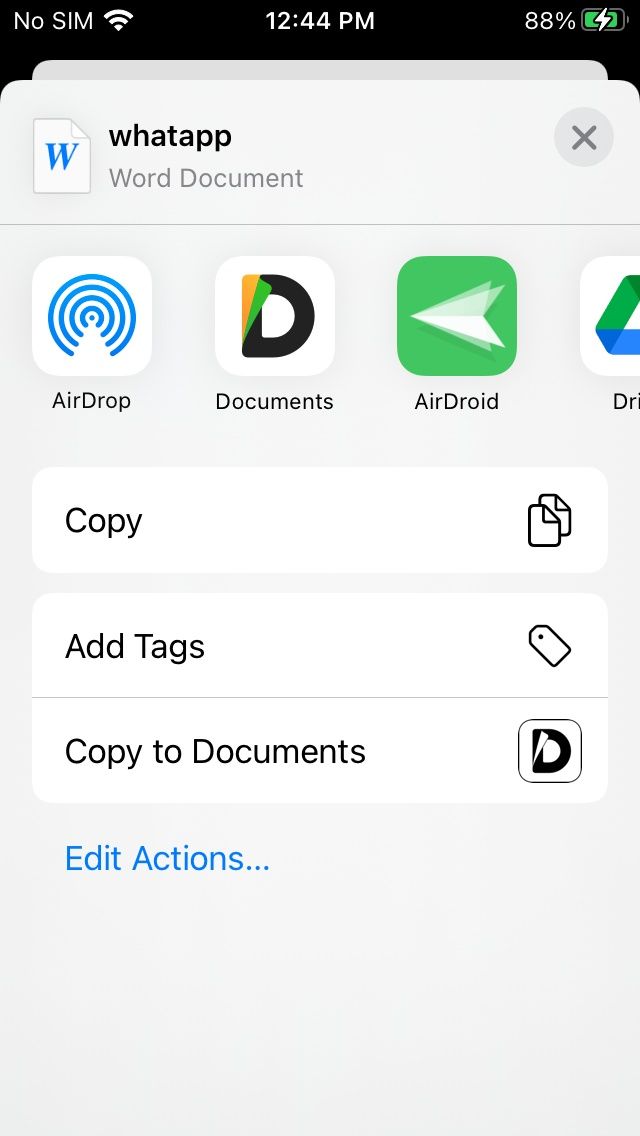
- Long press and tap on Copy for individual files. If you want to copy multiple files, use the Select option from the three-dot menu.
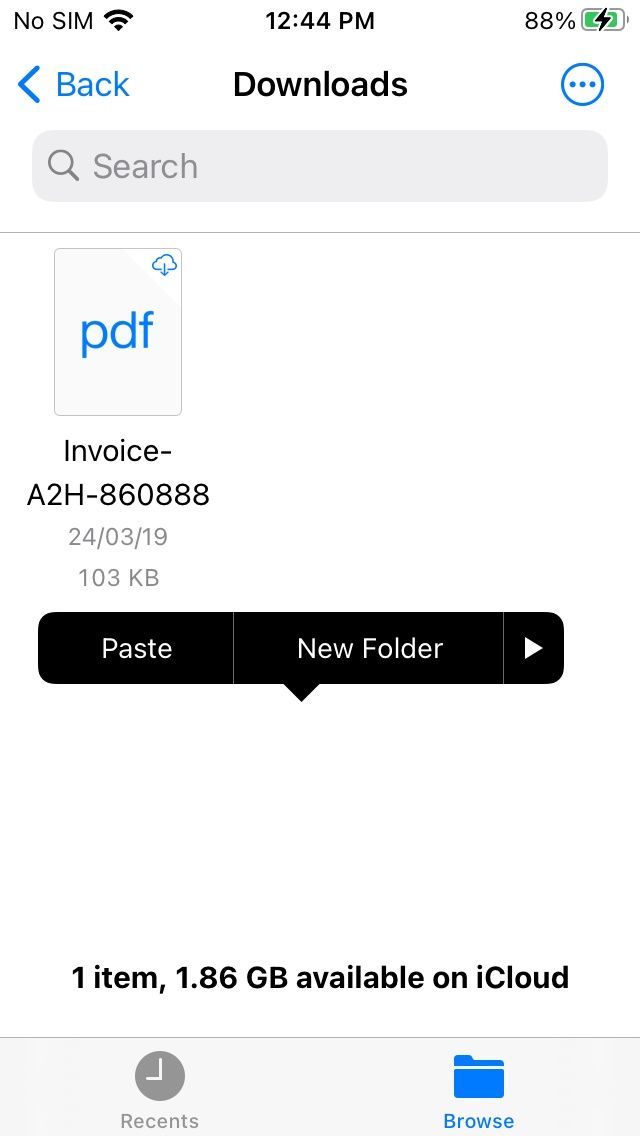
- Navigate to iCloud Drive in the app and paste the copied files there. Your files are now uploaded to iCloud Drive.
- Use iCloud.com or the iCloud Drive for Windows app to download the files on your PC.


Notably, if you want to transfer photos from your iPhone to your PC using iCloud, you’ll have to enable the iCloud Photos option by navigating to Settings > Photos > iCloud Photos. This will upload all your photos to iCloud. You can then download them on your PC.
Transfer files from a PC to an iPhone using iCloud
- You can either use iCloud.com to access iCloud Drive or download the iCloud for Windows app on a PC.

- If you are using iCloud.com, navigate to iCloud Drive after signing in, and you’ll see all your existing files folders. You can create a new folder or just upload files in the root of iCloud Drive.

- Just drag and drop files or using the upload icon to select files manually. Files are immediately uploaded to iCloud Drive, and you can now access them on other devices.
- To download the files on your iPhone, go to the Files app and navigate to iCloud Drive.


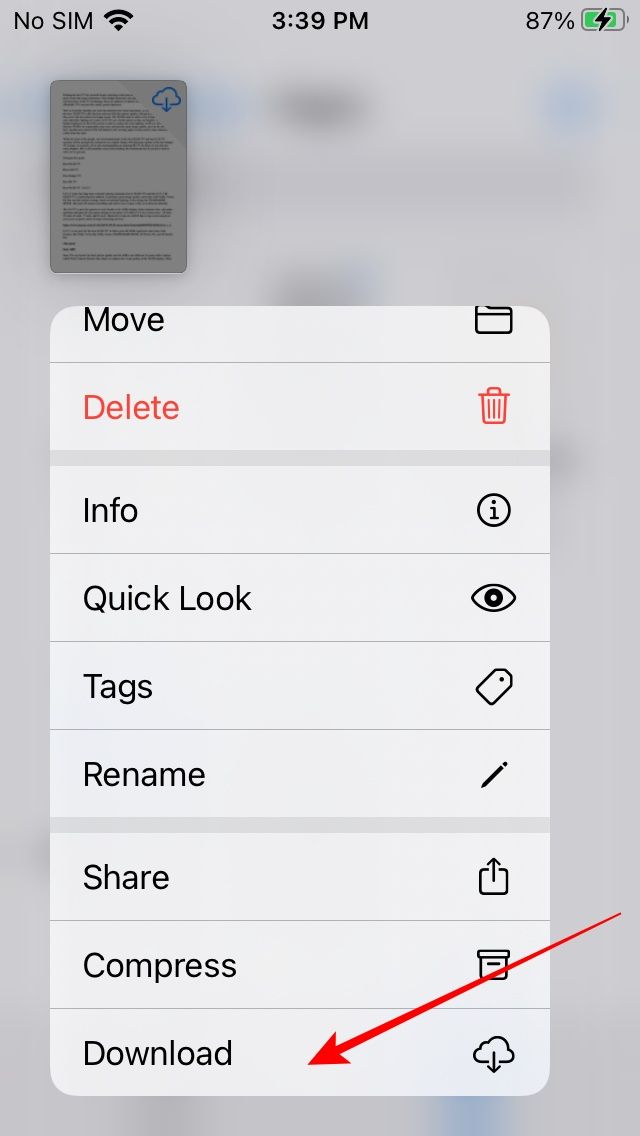
- Now you can select the files and copy them to your iPhone’s internal storage.

In the case of Photos, instead of selecting iCloud Drive, select Photos on the iCloud homepage. This will open iCloud Photos, and then you can upload as many photos as you want from your PC. Make sure the iCloud Photos option is enabled on your iPhone, and the uploaded images will automatically appear.
Transfer Files Using Snapdrop

Snapdrop is another excellent tool to transfer files between two platforms using just a web browser. It works great with iOS and Windows.
- To move files using Snapdrop, open snapdrop.net on a web browser on your iPhone or iPad. Then open the same website on a web browser on your PC. Make sure both devices are on the same Wi-Fi network.
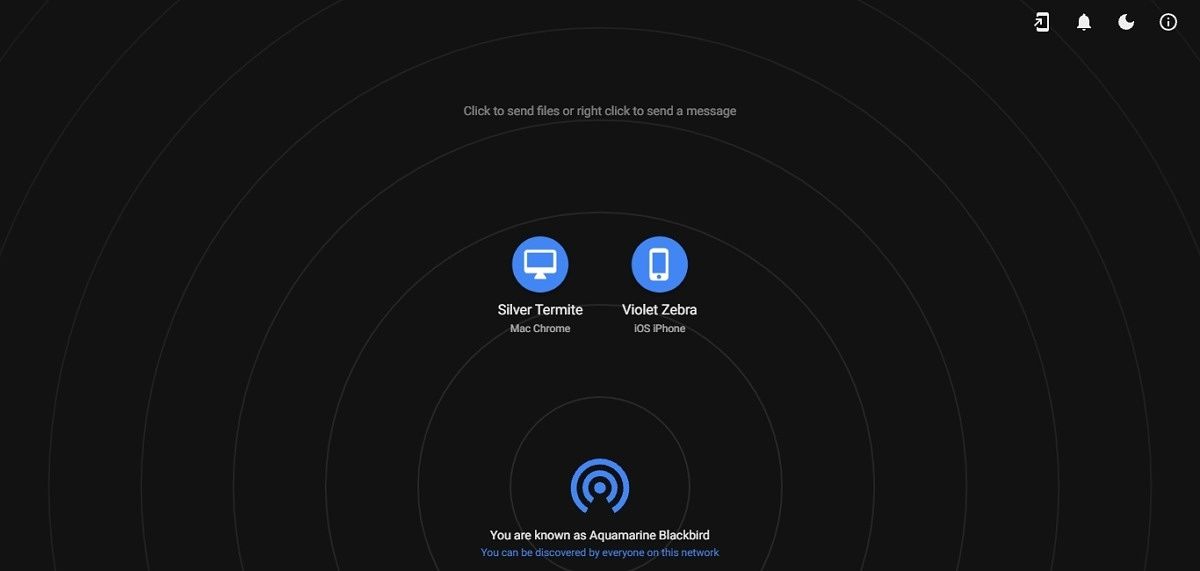


- The website will show the PC on your iPhone and vice versa.


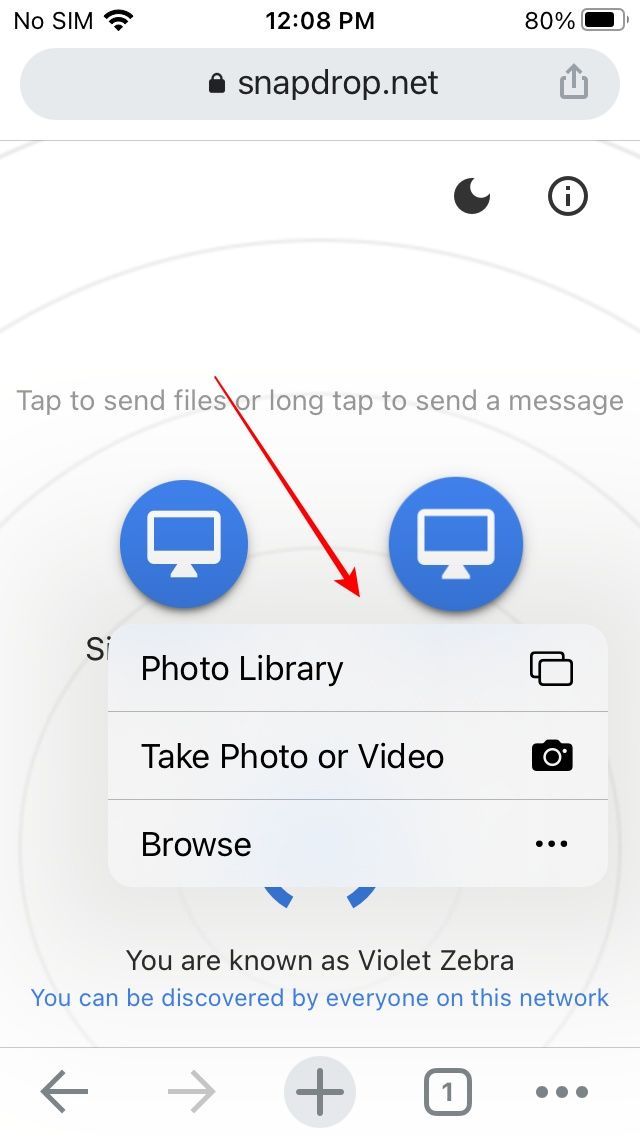
- Just tap on the device to where you want to send a file and follow the on-screen instructions.
It is as easy as it sounds, and you don’t even have to install anything. Furthermore, as it sends files locally, your data is secure and the transfer is very fast.
Transfer Files Using a Third-Party App

While the previously discussed methods are good for transferring files both ways — PC to iPhone and iPhone to PC — the third-party apps are only good for transferring files from PC to iPhone. The other way round works in certain cases but requires far more steps than the previously discussed methods and is more tricky.
Documents
Readdle’s free Documents app is an excellent third-party option to transfer files from a PC to an iPhone or iPad.
- Install the Documents app from the App Store.
- Make sure your iPhone and PC are using the same Wi-Fi network.


- Open the Documents app and tap Connections. Then select Computer. If you’re using an iPad, the Computer option will be present in the sidebar.
- Now open a web browser on your PC and go to docstransfer.com.

- You’ll be asked to enter the code showing up on your iPhone or iPad. Enter the code.
- Your iPhone and PC are now connected.

- You can use the Upload Files option to transfer files from the PC to your iPhone.
- To find the transferred files in other apps, enable the Documents app as a location and then you can navigate to these files.
AirDroid
AirDroid is a popular app on Android. But many people don’t know it’s also available on iOS. It works similar to Readdle’s Documents apps and allows the transfer of files from a PC to an iPhone.
- Download and install AirDroid from the App Store and make sure your iPhone is connected to the same Wi-Fi network as your PC.


- Open AirDroid and select the AirDroid Web option under the My devices section.
- Open a web browser on your PC and go to the IP address mentioned on your iPhone or iPad.
- Accept the connection request on your iPhone.

- You can now use the Upload File or Upload Folder options to transfer files from the PC to your iPhone.


- Once uploaded, the files will show up in the AirDrop Web section, and you’ll have to individually share them with another app where you want to use them.
These are some ways you can transfer files between an iPhone or iPad and a Windows PC. Of course, when you’re just looking to move one file or two, you can also use email or a chat app that you already use to transfer files from a PC to iPhone or vice versa.
Which method do you prefer? Do you like a method not listed here? Let us know in the comments section. Meanwhile, if you’re looking for a new iPhone or a new laptop, we have excellent buying guides for the best iPhones and the best laptops on the market. We have also explained how you can transfer data from your Android phone to an iPhone or from iPhone to an Android device.
The post XDA Basics: How to Transfer Files between iPhone/iPad and Windows PC appeared first on xda-developers.
from xda-developers https://ift.tt/3lAr4XP
via IFTTT
Aucun commentaire: